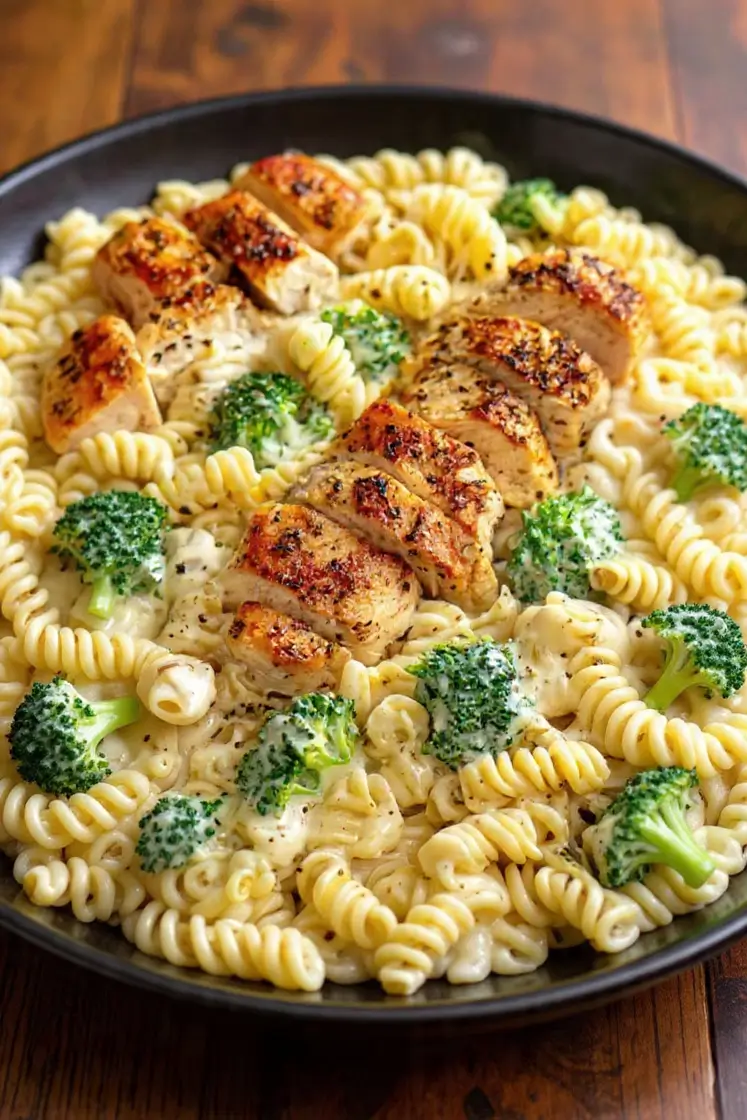
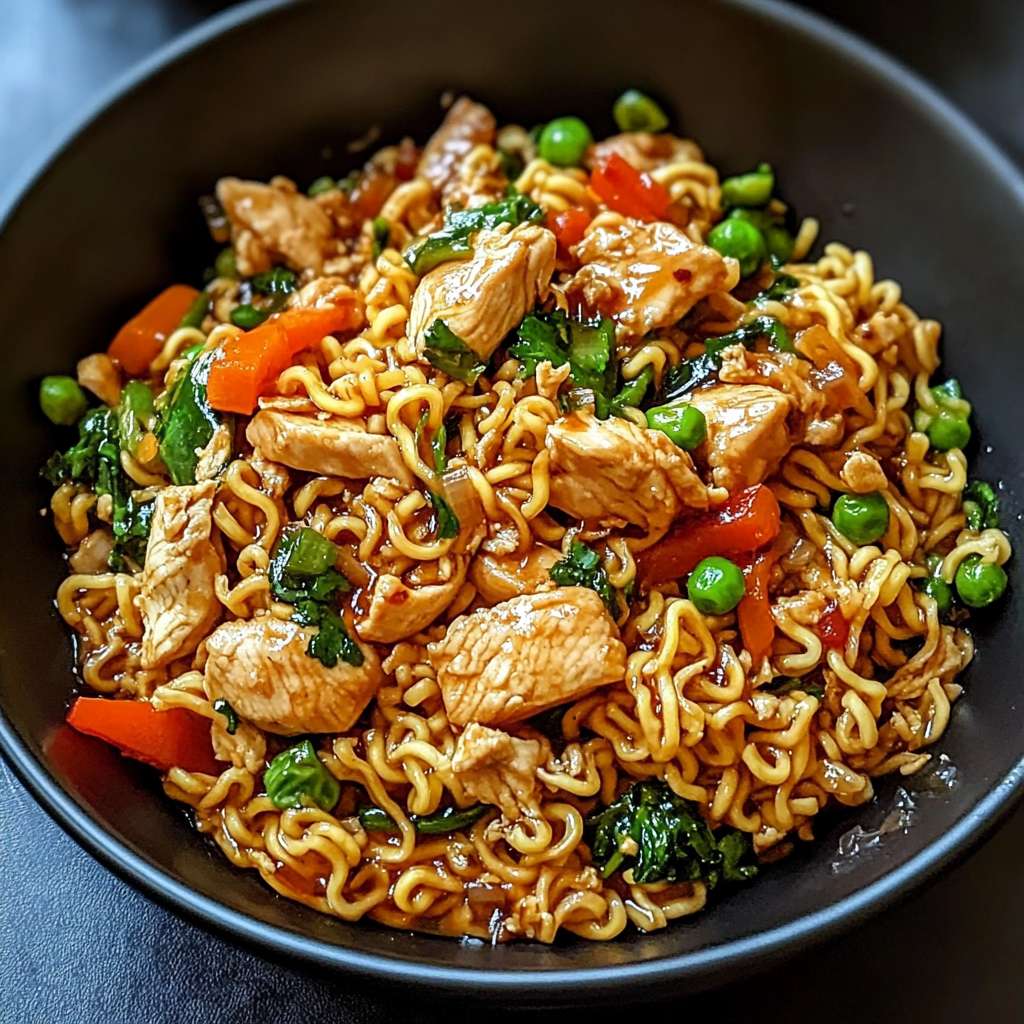
Easy and Flavorful Chicken Ramen Stir-Fry
Okay, real talk – who hasn’t stared into their fridge at 6 PM, completely defeated, wondering what the heck to make for dinner? I’ve been there SO many times. You want something that actually tastes good but doesn’t require a PhD in culinary arts or three hours of your life you’ll never get back.
Enter this chicken ramen stir-fry that’s basically saved my weeknight sanity. Seriously, it’s like takeout but better because a) you know what’s in it, b) it’s way cheaper, and c) you get to feel all accomplished afterward.
What You’ll Need (AKA The Shopping List)
The Main Players:
- 2 boneless chicken breasts, sliced thin (don’t stress about perfect cuts – we’re not on MasterChef here)
- 2 packs of ramen noodles (yeah, the cheap ones! Just toss those flavor packets – they’re basically salt bombs anyway)
The Veggie Squad:
- 1 cup broccoli florets
- 1 bell pepper, cut into strips
- 1 carrot, also cut into strips
- 1 small onion, sliced up
The Flavor Makers:
- 3 tablespoons soy sauce
- 2 tablespoons oyster sauce (trust me on this one)
- 1 tablespoon sesame oil
- 2 teaspoons minced garlic (or just use the jarred stuff – no judgment)
- 1 teaspoon minced ginger
- Salt and pepper (obviously)
- Toasted sesame seeds and chopped scallions for garnishing
Feeling Fancy? Try These Swaps:
- Not a meat eater? Cube up some tofu instead
- Need it gluten-free? Swap the soy sauce for tamari
- Want some heat? Boost the flavor with a touch of chili sauce or some crushed red pepper — a bit of spice makes everything twice as nice!
The Time Situation
Prep: 15 minutes (mostly just chopping stuff) Cooking: 10 minutes (seriously!) Total: 25 minutes
Compare that to waiting 45 minutes for delivery, and you’re already winning at life.
Let’s Get Cooking (It’s Easier Than You Think)
Step 1: Get Your Mise En Place On Fancy chef speak for “chop everything first.” I know it seems like extra work, but trust me – once you start cooking, everything happens FAST.
Step 2: Cook Those Noodles Boil the ramen according to the package (usually like 3 minutes), but skip the seasoning packet. Drain and set aside. Don’t overthink this part.
Step 3: Chicken Time Heat up that sesame oil in your biggest pan or wok. Toss in the chicken and let it get all golden and crispy – about 5-7 minutes. Remove it and set aside. Pro tip: don’t poke at it constantly; let it do its thing.
Step 4: Veggie Party Same pan, maybe add a tiny bit more oil, then throw in all your veggies. Stir-fry for about 3 minutes until they’re tender but still have some crunch. Nobody likes mushy vegetables.
Step 5: The Grand Finale Chicken goes back in, add your cooked noodles, then dump in the soy sauce, oyster sauce, garlic, and ginger. Toss everything together for 2 minutes. Give it a quick taste and adjust the seasoning with a pinch of salt and pepper if necessary.
Step 6: Complete the Look – Distribute the sesame seeds and green onions evenly on top to enhance the dish’s appearance. Think of it as the final brushstroke on a painting – small detail, big impact.
The Numbers Game
Per serving: roughly 350 calories, 25 grams of protein, 10 grams of fat, and 35 grams of carbohydrates.. Translation: it’s actually pretty balanced and won’t leave you feeling like you need a nap afterward.
Want to Make It Even Better?
Swap regular ramen for whole wheat noodles or go crazy with zucchini noodles if you’re feeling health-conscious. Or just add more veggies – your body will thank you, and it’ll make the dish look more colorful (which = more Instagram-worthy, obviously).
What to Serve It With
Honestly? This is a one-bowl wonder that doesn’t need much else. But if you’re feeling extra, a simple cucumber salad or some miso soup makes it feel like a proper Asian feast.
Don’t Mess This Up (Common Oops Moments)
- Avoid overcooking the ramen — no one wants mushy noodles ruining the dish.
- Give your ingredients space in the pan — overcrowding leads to steaming, not stir-frying!
- Don’t skip the prep work – seriously, have everything ready before you start
Leftover Life
Stick leftovers in the fridge for up to 3 days. Reheat in a pan (not the microwave – trust me on this one) to keep the texture decent. Save the fresh garnishes for when you’re ready to eat again.
The Bottom Line
This recipe is basically my love letter to anyone who’s tired of spending a fortune on mediocre takeout. It’s quick, it’s tasty, and it makes you feel like you’ve got your life together (even if you absolutely don’t).
Quick FAQs
Can I use beef or pork instead? Absolutely! Just slice it thin so it cooks quickly.
How do I make it spicier? Add more ginger, throw in some chili sauce, or go wild with red pepper flakes.
Seriously, give this a shot. It’s one of those recipes that’ll become your weeknight MVP. And when people ask how you made something so delicious so fast, just smile mysteriously and say it’s a family secret.