Irresistible Stuffed Biscoff Butter Lava Cookies Recipe
Introduction
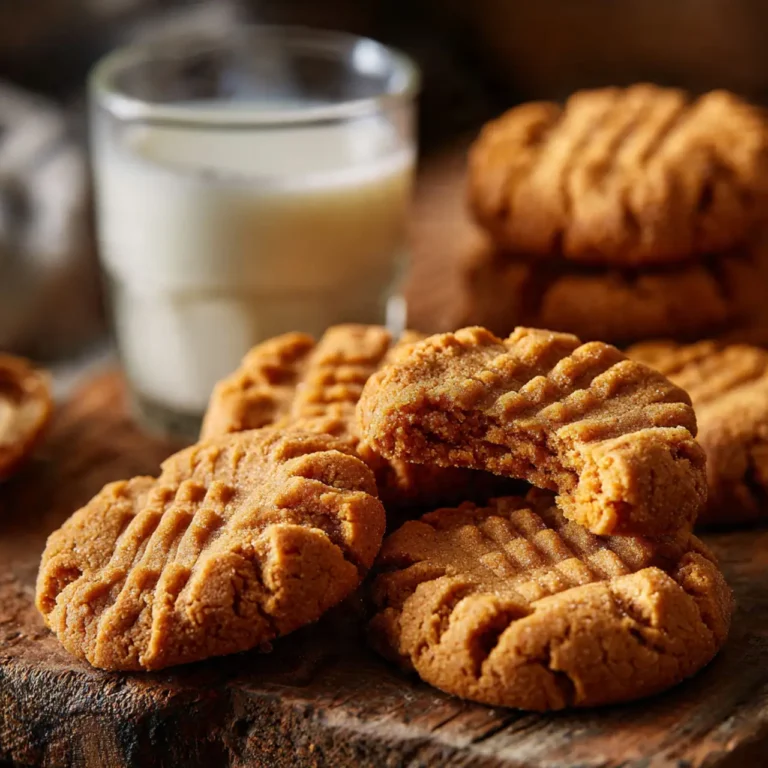
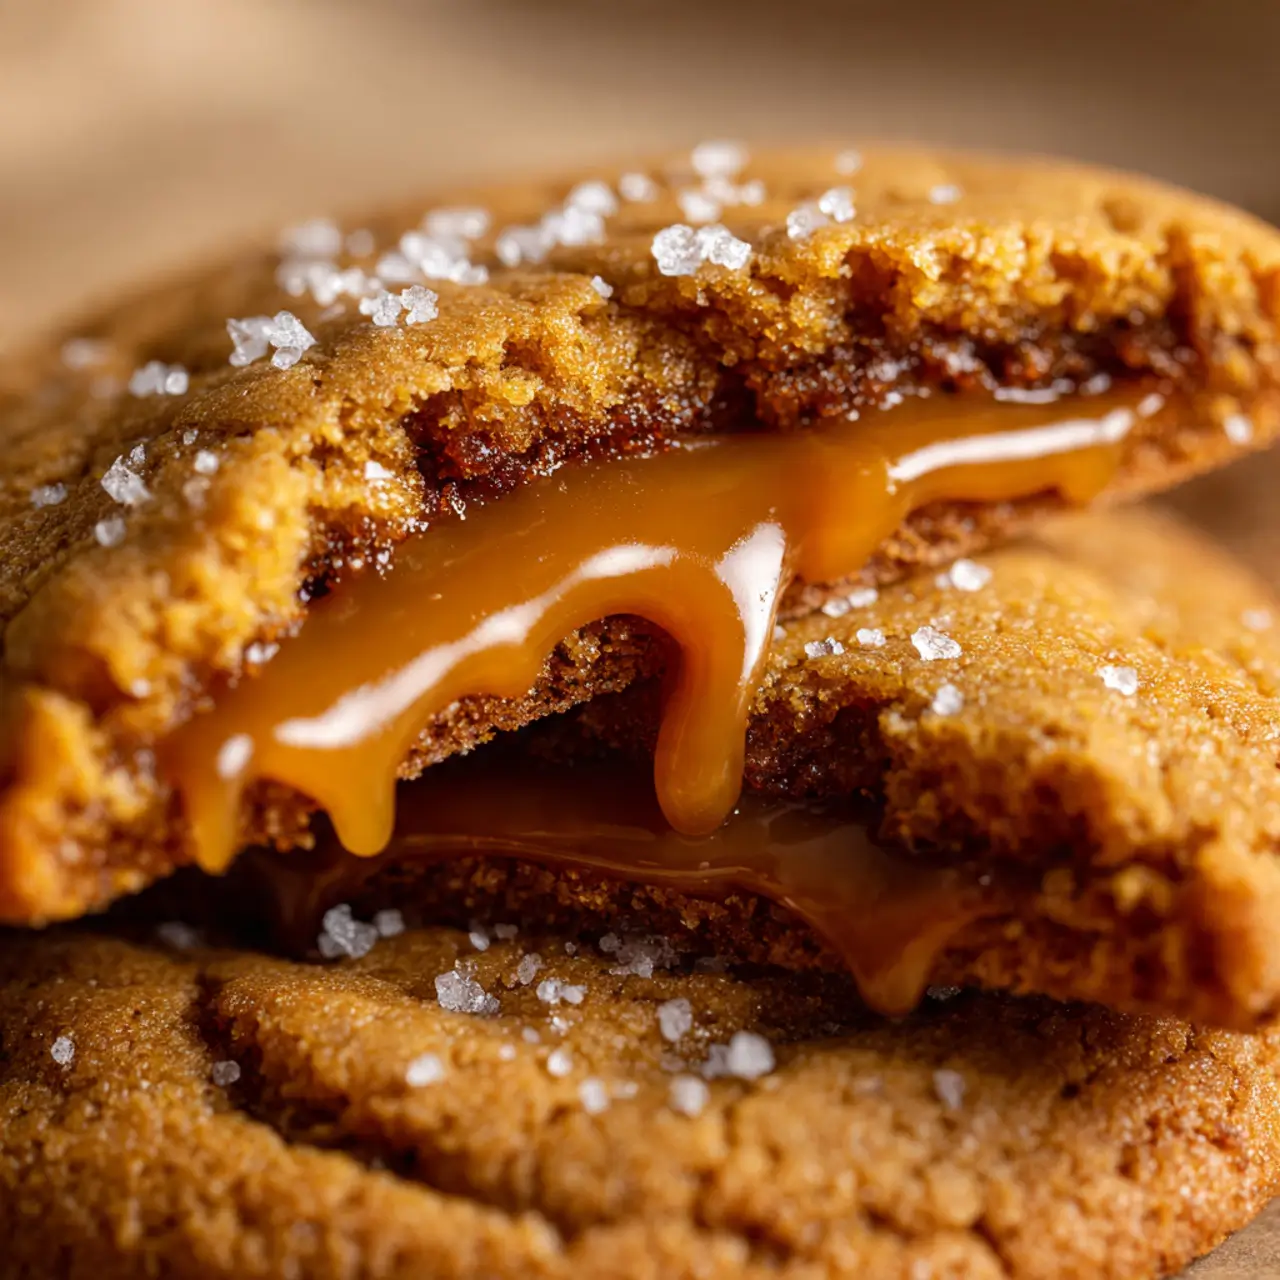
Have you ever wondered how to elevate the humble cookie into a gooey, melt-in-your-mouth dessert experience? Many bakers struggle with achieving that perfect balance of crispy edges and a soft, molten center. Today, we’re diving into the world of indulgence with a recipe that perfectly captures that essence—featuring an irresistible Biscoff butter lava filling. This irresistible stuffed Biscoff butter lava cookies recipe brings together the well-loved flavors of Biscoff spread and a molten, ooey-gooey core, creating a divine treat that’s guaranteed to impress both cookie lovers and dessert enthusiasts alike.
Ingredients List
To make these delectable stuffed cookies, you will need:
– 1 cup unsalted butter, softened (or dairy-free butter for vegan option)
– 3/4 cup brown sugar, packed
– 1/4 cup granulated sugar
– 1 large egg (or flax egg for vegan alternative)
– 1 teaspoon vanilla extract
– 2 cups all-purpose flour (can substitute with gluten-free flour blend)
– 1/2 teaspoon baking soda
– 1/4 teaspoon salt
– 1/2 cup Biscoff spread (speculoos cookie butter)
– 4 tablespoons Biscoff cookie crumbs (optional, for texture in dough)
Possible substitutions and notes:
– Swap butter with coconut oil or vegan butter if avoiding dairy.
– Use coconut sugar or a sugar substitute like erythritol if you want to reduce sugar.
– For those with gluten intolerance, ensure you use a blend designed for baking to keep that tender texture.
Timing
Understanding the timing can help create the perfect texture—balancing that crispy exterior with a lava-like center.
– Prep time: 15 minutes
– Cook time: 10 to 12 minutes
– Total time: Approximately 30 minutes (including chilling if desired)
The prep phase involves mixing the dough and getting ready to encase the luscious Biscoff filling. Keep an eye on the baking time, as overbaking will rob the cookies of their molten core, while underbaking might make the dough too soft to handle.
Step-by-Step Instructions
Step 1: Prepare the Cookie Dough
In a large mixing bowl, cream the softened butter with both sugars until light and fluffy. This step is crucial for achieving that tender crumb and slightly caramelized flavor. Beat in the egg and vanilla extract until combined.
Chef’s tip: Use room temperature ingredients to help blend the dough more smoothly.
Step 2: Incorporate Dry Ingredients
In a separate bowl, whisk together the flour, baking soda, and salt. Gradually add these dry ingredients into the wet mixture. Fold gently but thoroughly until just combined—overmixing will develop gluten and result in denser cookies.
Step 3: Add Texture (Optional)
Stir in the Biscoff cookie crumbs for an added crunch that complements the smooth filling. This step adds a nice contrast but can be omitted for a simpler version.
Step 4: Shape the Cookies with Filling
Scoop out a tablespoon of dough and flatten it slightly in your palm. Place about a teaspoon of Biscoff spread in the center, then gently fold the dough around it to seal completely. Shape into a smooth ball and repeat with remaining dough and filling.
Chef’s tip: Chill the dough balls for 15 minutes before baking to prevent spreading.
Step 5: Baking
Place the stuffed cookie balls on a parchment-lined baking sheet, spacing them about 2 inches apart. Bake in a preheated oven at 350°F (175°C) for 10 to 12 minutes, until the edges are golden and the centers look set but still soft.
Step 6: Cooling and Serving
Allow the cookies to cool on the baking sheet for 5 minutes. This resting phase helps the lava filling thicken slightly while keeping the cookie edges crisp. Then, transfer to a wire rack to cool further or enjoy warm for maximum molten effect.
Nutritional Information
Per cookie (approximate):
– Calories: 190
– Protein: 2g
– Fat: 10g (Saturated fat: 6g)
– Carbohydrates: 25g
– Fiber: 1g
– Sugar: 15g
– Sodium: 85mg
This rich treat delivers a satisfying energy boost, but keep portions in mind if you’re watching your macros.
Healthier Alternatives
To enjoy these stuffed cookies with a more nutritious twist, try these swaps:
– Use whole wheat or almond flour to increase fiber and protein.
– Replace some sugar with natural sweeteners like maple syrup or honey.
– Incorporate ground flaxseed or chia seeds into the dough for omega-3s.
– Opt for organic nut butters or natural Biscoff spread versions without added preservatives.
By making these adjustments, you can reduce sugar content and add nutritional value without compromising the indulgent flavor.
Serving Suggestions
These lava-filled delights are perfect on their own but even better when paired thoughtfully:
– Serve warm with a scoop of vanilla bean ice cream for contrast between hot and cold.
– Drizzle with melted dark chocolate or caramel sauce for extra decadence.
– Garnish with a sprinkle of sea salt or crushed Biscoff cookies to enhance flavor layers.
– Pair with a cup of coffee or chai tea during chilly afternoons—spiced beverages intensify the cozy spices in Biscoff.
For a seasonal twist, add a dusting of cinnamon or nutmeg just before serving in the fall months.
Common Mistakes to Avoid
– Overbaking: The key to lava centers is watchful baking; even a minute or two extra can firm up the filling.
– Not sealing the dough properly: If the Biscoff spread leaks out, your cookies won’t have that gooey surprise.
– Using cold dough right from the fridge: Too stiff and the dough can crack on shaping, so allow it to come to room temperature or briefly chill after shaping instead.
– Skipping parchment paper: This prevents sticking and helps with even baking.
– Ignoring ingredient temperature: Room temperature eggs and butter blend more evenly, giving optimal texture.
By keeping these points in mind, you’ll get perfectly gooey, flavorful cookies every time.
Storing Tips
To maintain freshness and texture:
– Store cooled cookies in an airtight container at room temperature for up to 3 days.
– For longer storage, refrigerate for up to a week—bring cookies to room temperature before serving to enjoy the full molten effect.
– Freeze pre-baked dough balls individually on a tray, then transfer them to a freezer bag for up to 2 months. Bake directly from frozen, adding a couple of extra minutes to baking time.
This flexibility lets you enjoy the irresistible goodness whenever you crave a sweet treat.
Conclusion
This recipe brings together the perfect chewy texture and oozing Biscoff butter lava inside a cookie, creating a dessert sensation you’ll return to again and again. With simple ingredients and straightforward steps—plus options to customize and store—these cookies are a winning addition to any baker’s repertoire. Ready to try it out? Share your experience in the comments or join our newsletter for more delicious recipes and baking tips!
FAQs
Q1: Can I use regular peanut butter or almond butter instead of Biscoff spread?
Absolutely! While Biscoff offers a unique spiced caramel flavor, these cookies work well with other creamy nut butters. Just be mindful of added sugars or salt in your chosen spread.
Q2: How do I prevent the filling from leaking out?
Make sure to fully encase the Biscoff filling with cookie dough, sealing edges tightly. A chilled dough ball helps maintain structure during baking.
Q3: Can I make these cookies gluten-free?
Yes, using a quality gluten-free flour blend designed for baking can yield similarly tender cookies. You might need to slightly adjust liquid quantities for best results.
Q4: Is there a vegan version of this recipe?
Definitely! Use dairy-free butter and substitute the egg with a flax or chia egg (1 tablespoon ground flaxseed or chia seeds + 3 tablespoons water, mixed and rested).
Q5: What’s the best way to reheat these cookies?
Warm them in a microwave for 10–15 seconds or in a preheated oven at 300°F for about 5 minutes to recapture that gooey lava center.
—
Explore our other dessert recipes like Chewy Chocolate Chip Cookies and Molten Chocolate Lava Cakes for more sweet inspiration. Don’t forget to bookmark this recipe and subscribe for weekly tasty treats delivered straight to your inbox!