Irresistible Thanksgiving Stuffing Balls for Perfect Holiday Bites
Discover the Secret to Perfect Thanksgiving Stuffing Balls
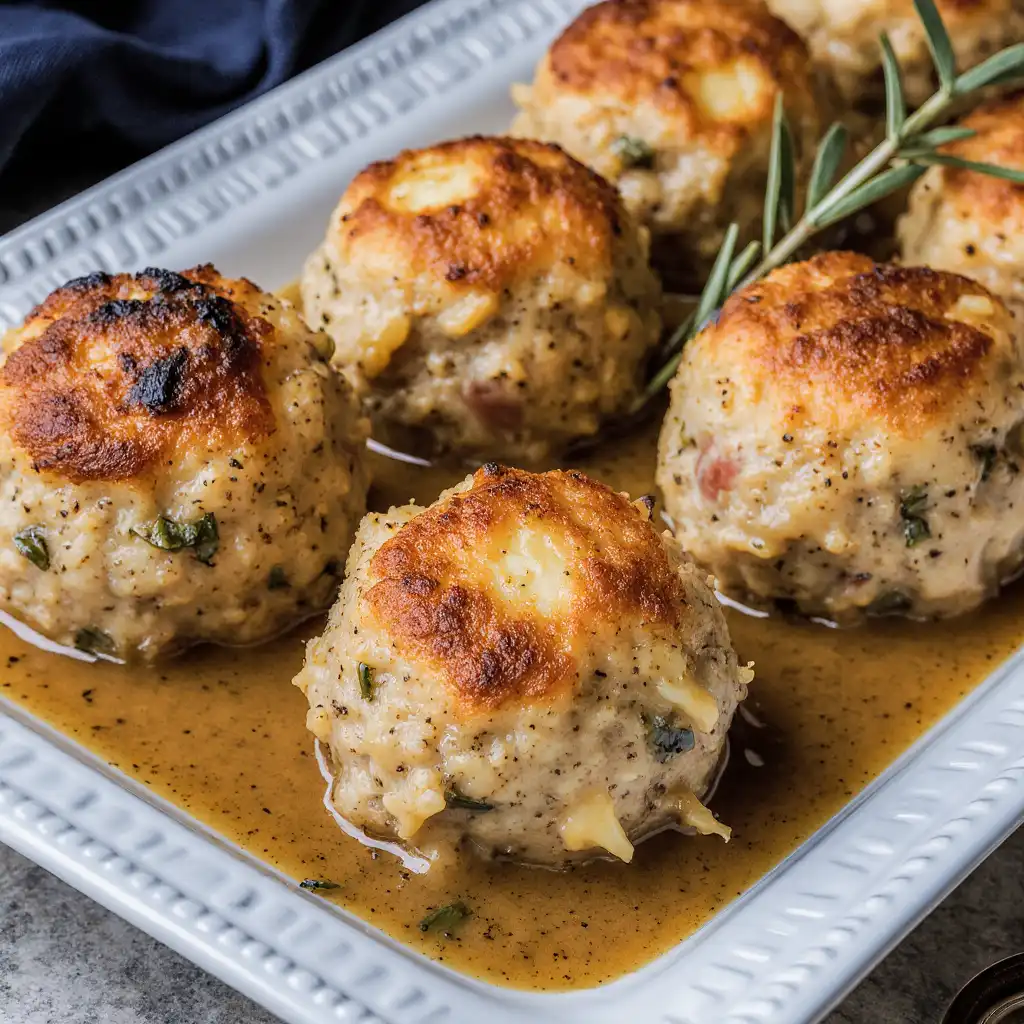
Have you ever wondered how to make Thanksgiving stuffing that’s not only delicious but also fun and easy to serve? Many home cooks struggle with traditional stuffing that can turn soggy or dry when baked inside the bird. But what if there was a way to enjoy all the classic flavors in a perfectly handheld form? That’s exactly what Thanksgiving stuffing balls offer — golden, crispy on the outside, moist and flavorful on the inside, and perfect for portion control. This is a game changer for busy holiday hosts who want festive dishes that impress without extra stress.
Making Thanksgiving stuffing balls isn’t just a clever twist; it responds to the common challenge of getting stuffing just right every single time. With this recipe, you can elevate your side dish lineup and add a new texture and presentation to your holiday table.
Ingredients You’ll Need for Irresistible Stuffing Balls
Before you dive in, gather the essentials to make these stuffing balls wonderfully flavorful. This recipe blends classic ingredients with optional variations for dietary preferences, so you can customize easily:
- 4 cups of dry bread cubes (day-old French bread or sourdough work best)
- 1 cup finely chopped onion
- 1/2 cup finely chopped celery
- 2 cloves garlic, minced
- 1/2 cup unsalted butter
- 1/2 cup chicken or vegetable broth (use low sodium)
- 2 large eggs, beaten
- 1 teaspoon dried sage
- 1 teaspoon dried thyme
- 1 teaspoon fresh parsley, chopped (or 1/2 tsp dried)
- Salt and pepper, to taste
- Optional: 1/2 cup cooked sausage or pancetta (for non-vegetarian versions)
- Optional: 1/4 cup chopped walnuts or pecans for crunch
- Optional: 1/2 cup chopped apples or dried cranberries for sweetness
Ingredient Substitutions and Dietary Alternatives:
- Gluten-free: Use gluten-free bread cubes instead of regular bread.
- Vegan: Replace butter with vegan margarine, eggs with flax eggs, and use vegetable broth.
- Low sodium: Opt for low-sodium broth and reduce added salt.
Timing Your Stuffing Balls for Perfect Results
- Preparation Time: 15-20 minutes
- Cooking Time: 25-30 minutes depending on your oven’s heat and the size of the balls
- Total Time: Approximately 45-50 minutes from start to finish
During prep, enjoy the aroma of butter sautéing savory onions and celery, a comforting scent that sets the tone for your holiday feast. The golden-crisp exterior develops in the oven while the inside stays tender and moist — that’s the magic of perfectly timed cooking.
Step-by-Step Instructions to Master Stuffing Balls
Step 1: Prepare the Bread Base
Begin by placing your dry bread cubes in a large mixing bowl. If your bread isn’t dry enough, toast it lightly in the oven for 10 minutes. This ensures your stuffing balls won’t turn mushy.
Chef’s Tip: Cubing the bread evenly helps the stuffing cook uniformly.
Step 2: Sauté Aromatics
Melt butter in a skillet over medium heat. Add onions, celery, and garlic; sauté until softened and fragrant, roughly 5-7 minutes. Stir in herbs like sage and thyme during the last minute to awaken their oils.
Step 3: Mix Wet and Dry Ingredients
Add the sautéed veggies to the bread cubes. Pour broth gradually while mixing gently to keep the bread moist but not soggy. Incorporate beaten eggs for binding and season generously with salt and pepper. Toss in any optional ingredients like nuts or dried fruit now.
Chef’s Tip: If the mixture feels too dry, add broth one tablespoon at a time.
Step 4: Shape and Bake
Preheat your oven to 375°F (190°C). Lightly grease or line a baking tray with parchment paper. With your hands, form the mixture into golf ball-sized portions, placing them evenly spaced on the tray.
Bake for 25-30 minutes or until the balls are golden brown and slightly crispy on all sides.
Chef’s Tip: Turn the balls halfway through baking for an even crust.
Step 5: Serve Warm and Enjoy
Remove from the oven and serve immediately with your favorite Thanksgiving mains.
Nutritional Information You Should Know
Enjoying these stuffing balls guilt-free is easy with basic nutritional awareness. A typical serving (around 3 balls) includes approximately:
- Calories: 250-300 kcal
- Protein: 6-8 grams
- Fat: 12-15 grams (mostly from butter and optional sausage)
- Carbohydrates: 30-35 grams
- Fiber: 2-3 grams
- Sodium: Varies depending on broth and added salt
- Essential nutrients: Vitamin A, vitamin C (from vegetables), iron, and calcium
Healthier Alternatives for a Nutritious Twist
To up the nutrition without sacrificing flavor:
- Swap butter for olive oil or avocado oil to boost heart-healthy fats.
- Add chopped kale or spinach into the mix for extra fiber and vitamins.
- Use whole-grain or sprouted bread cubes for higher nutrient density.
- Omit sausage and nuts if watching calories or allergens, or replace with mushrooms for umami flavor.
- Reduce sodium by choosing unsalted broth and minimizing added salt.
Creative Serving Suggestions to Impress Guests
Stuffing balls are versatile and pair wonderfully with both traditional and modern holiday dishes. Try serving them alongside:
- Roasted turkey or herb-brined chicken for a classic match.
- Vegetarian mains like stuffed portobello mushrooms or lentil loaf.
- Bright cranberry sauce or a drizzle of tangy gravy for an extra flavor pop.
- Seasonal roasted vegetables such as Brussels sprouts, carrots, or butternut squash.
- A fresh green salad with dried cranberries and toasted pecans for contrast.
For a festive appetizer, offer mini stuffing balls on toothpicks with a dab of cranberry chutney.
Common Mistakes to Avoid When Making Stuffing Balls
- Too wet or soggy: Avoid adding too much broth. The mixture should be moist but hold shape.
- Undercooked inside: Make sure to bake fully through, turning balls halfway to crisp all sides.
- Using fresh bread: Always use toasted or day-old bread to prevent mushiness.
- Overmixing: Combine ingredients just enough to bind to keep texture light and fluffy.
- Ignoring seasoning: Taste your stuffing base before forming balls – it should be slightly under-seasoned since flavors concentrate during baking.
Storing Tips for Leftovers and Make-Ahead Convenience
If you have any leftovers, store them in an airtight container in the refrigerator for up to 3 days. Reheat in a 350°F oven on a baking sheet for about 10 minutes to refresh the crisp exterior.
For make-ahead prep, assemble the balls but do not bake. Cover and refrigerate for up to 24 hours, then bake fresh right before serving.
You can also freeze baked stuffing balls in a single layer on a tray, then transfer to a freezer bag. Reheat from frozen in the oven for about 20 minutes until hot.
Conclusion: Elevate Your Holiday with Stuffing Balls
Thanksgiving stuffing balls are a delightful twist that combines classic comfort with convenience and fun presentation. With easy steps and versatile options, they’ll become a new staple everyone asks for year after year. Ready to make your holiday feast unforgettable? Don’t hesitate to share your stuffing ball experiments or ask questions below!
Frequently Asked Questions
How do I make stuffing balls gluten-free?
Use gluten-free bread cubes and verify that your broth is gluten-free. This swap keeps the texture and taste while accommodating sensitivities.
Can I prepare stuffing balls in advance?
Absolutely! Form the balls up to a day ahead and store covered in the fridge. Bake fresh before serving for best texture.
What’s the best way to add moisture without sogginess?
Add broth slowly when mixing and use breadcrumbs or day-old bread for better absorption. Too much liquid can result in sticky balls.
Are stuffing balls suitable for vegans?
Yes! Replace butter with vegan margarine, eggs with flax or chia seeds mixed with water (as a binder), and use vegetable broth. The flavor and texture still delight.
Can I freeze leftover stuffing balls?
Definitely. Freeze on a tray then store in freezer bags. Reheat in the oven directly from frozen to retain crispiness.
If you enjoyed this recipe, don’t forget to browse our collection of Thanksgiving side dishes and holiday sides tips for more ways to elevate your cooking game. Happy cooking and warm holiday vibes!